How To Download and Install a Texture Pack in Minecraft
In this quick and easy tutorial, you will learn how to download and install a texture pack in Minecraft. This method works for every version of the game.
Minecraft Vanilla textures are incredible, to say the least; they are one of the reasons why Minecraft is so popular. But if you’ve grown tired of these same old graphics, you can always switch them up using texture packs!
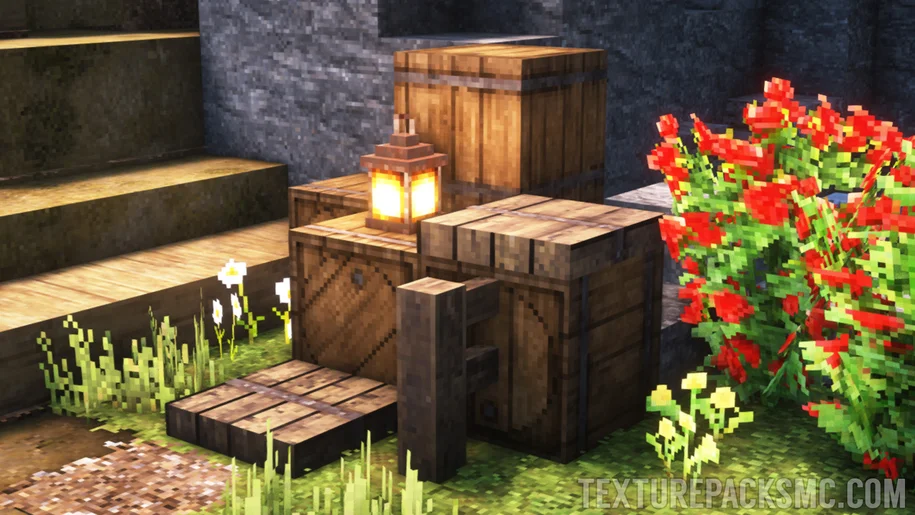
By following the steps below, you will give your new and existing Minecraft worlds a completely different look.
How To Download and Install a Texture Pack
The very first step is to pick a texture pack that you like. You can do so by browsing TexturePacksMC. If you’re having trouble finding the right resource pack for you, try selecting a specific category from the sidebar.
Once you have found a good texture pack, scroll all the way down to the bottom of the page until you reach the Downloads section. Over there, you can simply click the download button that corresponds with your Minecraft version. If you’re playing PvP on Minecraft 1.8.9, click the download button labeled “Download 1.8.9”. If you’re playing Minecraft 1.19.2, select that version.
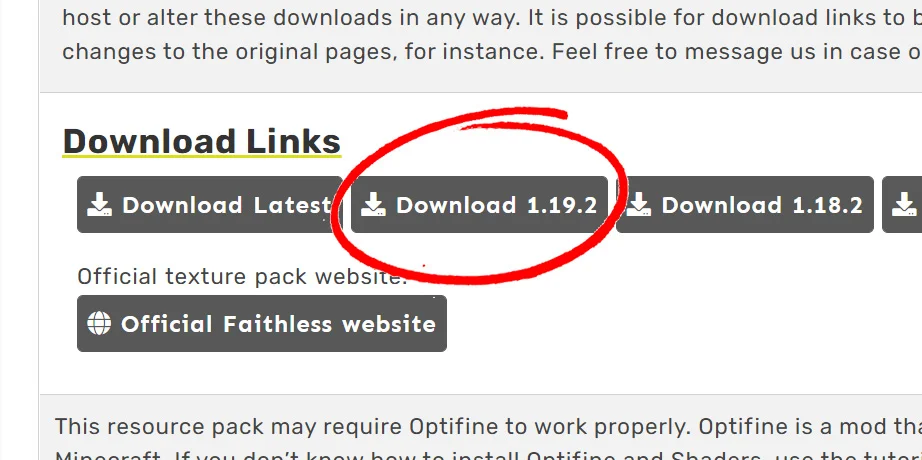
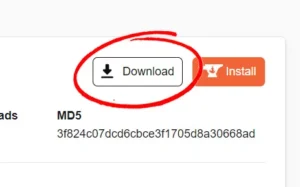
Now you will be taken to the official download page for that pack, and all you need to do is press Download. After five seconds, the texture pack will be saved to your PC.
Launch Minecraft
The next step is to launch Minecraft. Once you reach the main menu, go to Settings and find the button labeled Resource Packs. You can now drag over your texture pack file to the game. It will ask you to confirm that you want to import the texture pack.
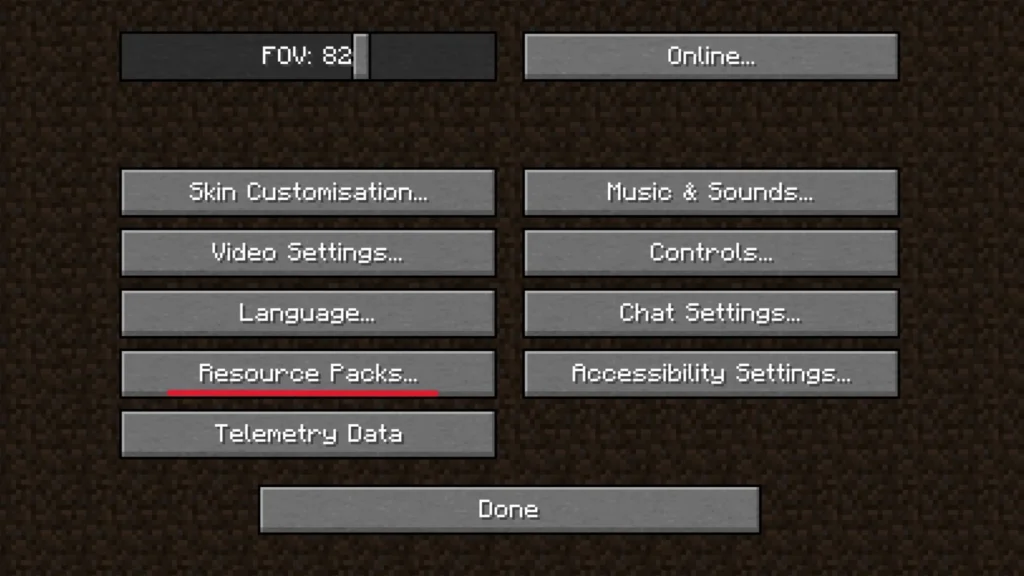
If this method does not work, you can also click “Open Resource Pack folder”. This will open up the folder where all of your resource packs are stored. Simply drag in the texture pack you just downloaded, without unpacking it. After doing so, it should appear in the list on the left.
Select and enable your pack
The last step is to select and enable your texture pack. You can do so by hovering the texture pack in the list on the left, which will make a large arrow appear. Click the arrow to move the texture pack over to the list on the right, where it should now appear right above the Default textures.
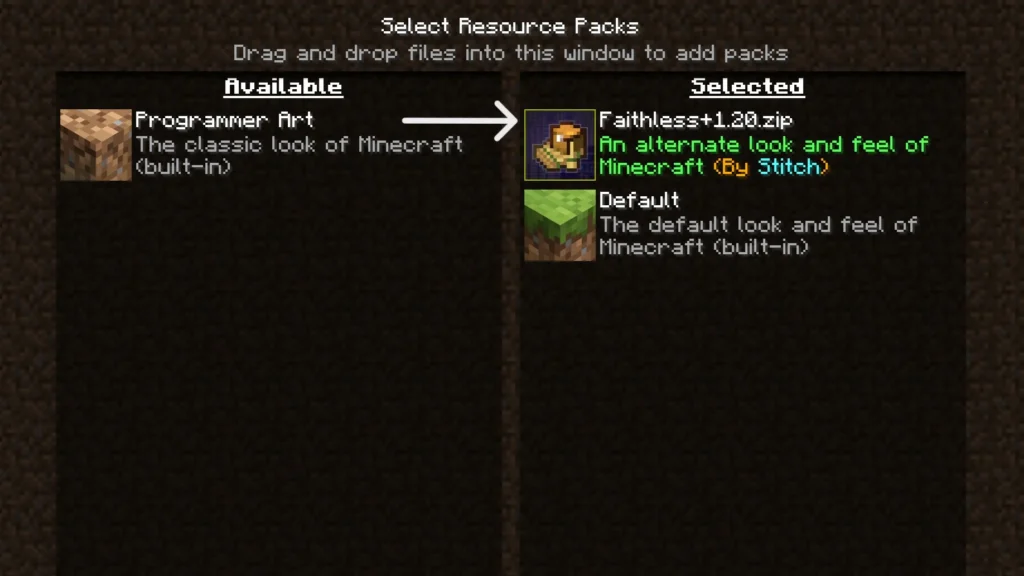
Do note: the order of the packs is important. The one at the top will supply most textures, other ones are used as fallback packs that may supply textures which are not covered by the main pack. For example, if you install a pack that only changes the look of leaves, the next pack on the list will supply the remainder of the textures.
To save your changes, click done, return to the main menu, and you’re done! Join one of your worlds or servers to see your texture pack in action.
How To Download and Install a Texture Pack in Minecraft
In this quick and easy tutorial, you will learn how to download and install a texture pack in Minecraft. This method works for every version of the game.
Minecraft Vanilla textures are incredible, to say the least; they are one of the reasons why Minecraft is so popular. But if you’ve grown tired of these same old graphics, you can always switch them up using texture packs!
By following the steps below, you will give your new and existing Minecraft worlds a completely different look.
How To Download and Install a Texture Pack
The very first step is to pick a texture pack that you like. You can do so by browsing TexturePacksMC. If you’re having trouble finding the right resource pack for you, try selecting a specific category from the sidebar.
Once you have found a good texture pack, scroll all the way down to the bottom of the page until you reach the Downloads section. Over there, you can simply click the download button that corresponds with your Minecraft version. If you’re playing PvP on Minecraft 1.8.9, click the download button labeled “Download 1.8.9”. If you’re playing Minecraft 1.19.2, select that version.
Now you will be taken to the official download page for that pack, and all you need to do is press Download. After five seconds, the texture pack will be saved to your PC.
Launch Minecraft
The next step is to launch Minecraft. Once you reach the main menu, go to Settings and find the button labeled Resource Packs. You can now drag over your texture pack file to the game. It will ask you to confirm that you want to import the texture pack.
If this method does not work, you can also click “Open Resource Pack folder”. This will open up the folder where all of your resource packs are stored. Simply drag in the texture pack you just downloaded, without unpacking it. After doing so, it should appear in the list on the left.
Select and enable your pack
The last step is to select and enable your texture pack. You can do so by hovering the texture pack in the list on the left, which will make a large arrow appear. Click the arrow to move the texture pack over to the list on the right, where it should now appear right above the Default textures.
Do note: the order of the packs is important. The one at the top will supply most textures, other ones are used as fallback packs that may supply textures which are not covered by the main pack. For example, if you install a pack that only changes the look of leaves, the next pack on the list will supply the remainder of the textures.
To save your changes, click done, return to the main menu, and you’re done! Join one of your worlds or servers to see your texture pack in action.